
Super simple DIY- mini chalkboards
I love these! They take two minutes to make but would add charm to any critter's classroom or nursery.

You will need:
Thin card- I used a medicine box. It must be uncoated.
A permanent black marker.
Double sided tape or glue.
A white out pen or white paint pen (you could use white nail polish and a toothpick as well).
Large tongue depressors or balsa wood.
Cotton buds.
Scissors or balsa knife.
Wood file- optional.

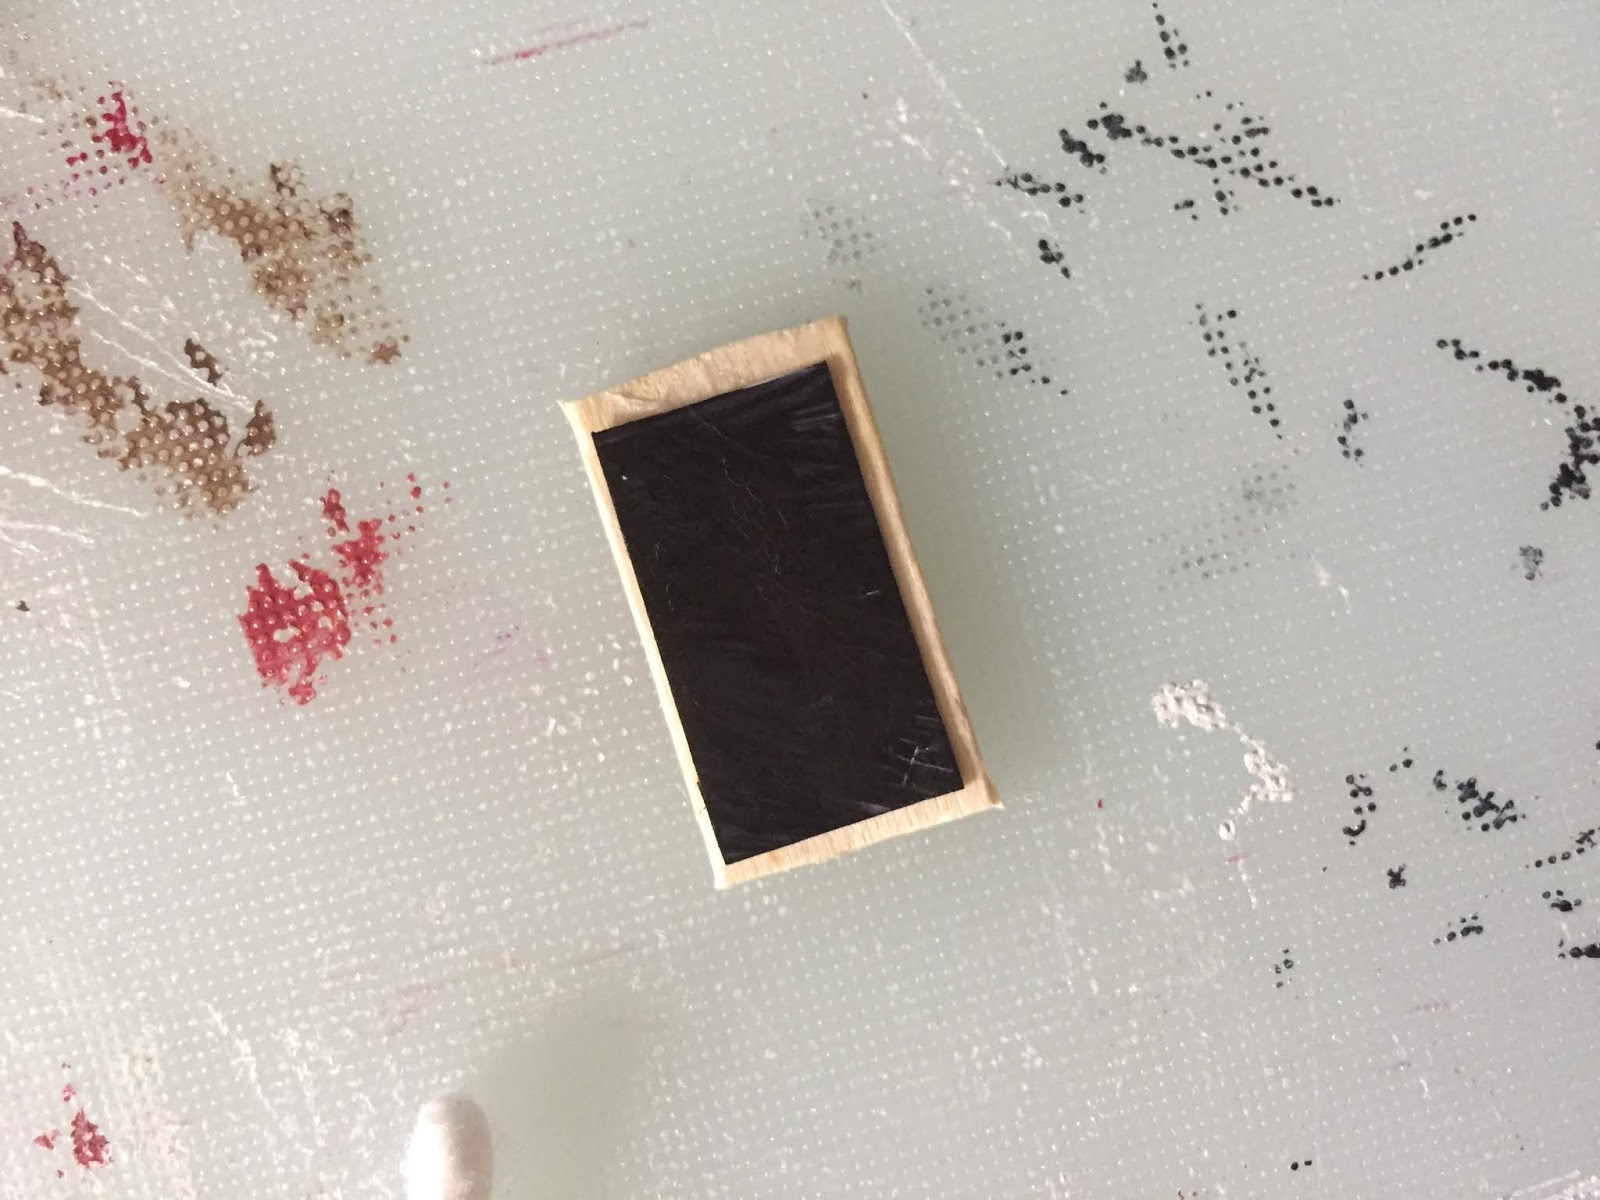
(Apologies for my cutting board! I use nail varnish to coat some miniatures and it's stuck on)
1. Cut the tongue depressor to desired length. This one is about 2.5cm. You could file the edges but I find the wood is so fragile that it risks breaking it.

2. Cut the card just a little smaller, so that when it's placed onto the wood, you can see the edges to make a border.

3. Colour the card- doing this first prevents staining the wood. Smudge with a cotton bud to create a matte "chalkboard" effect and leave about 30 seconds to dry.

4. Use tape or glue to stick it on. I prefer tape as the glue can cause the marker to run.


5. Write or draw using your white corrector pen. If you make a mistake, simply wipe the corrector fluid with another cotton bud, wait for it to dry and then colour over with the marker before trying again.

Enjoy! I love how these turned out.

You will need:
Thin card- I used a medicine box. It must be uncoated.
A permanent black marker.
Double sided tape or glue.
A white out pen or white paint pen (you could use white nail polish and a toothpick as well).
Large tongue depressors or balsa wood.
Cotton buds.
Scissors or balsa knife.
Wood file- optional.

(Apologies for my cutting board! I use nail varnish to coat some miniatures and it's stuck on)
1. Cut the tongue depressor to desired length. This one is about 2.5cm. You could file the edges but I find the wood is so fragile that it risks breaking it.

2. Cut the card just a little smaller, so that when it's placed onto the wood, you can see the edges to make a border.

3. Colour the card- doing this first prevents staining the wood. Smudge with a cotton bud to create a matte "chalkboard" effect and leave about 30 seconds to dry.

4. Use tape or glue to stick it on. I prefer tape as the glue can cause the marker to run.

5. Write or draw using your white corrector pen. If you make a mistake, simply wipe the corrector fluid with another cotton bud, wait for it to dry and then colour over with the marker before trying again.

Enjoy! I love how these turned out.


Comments
Post a Comment
Please feel free to enter comments! Reminder: the little ones can see these, and we will remove any with bad language.